
Understanding Exhaust Hood Installation
What is Exhaust Hood Installation?
Exhaust hood installation refers to the process of setting up an exhaust hood system in a kitchen to effectively ventilate cooking fumes, heat, and smoke. This system is crucial in maintaining air quality and ensuring a comfortable cooking environment. It helps in removing airborne particles and odors generated during cooking, providing a cleaner atmosphere. Homes that lack proper ventilation may experience issues like poor indoor air quality, which can lead to health problems over time. Proper installation not only enhances kitchen functionality but also contributes to overall safety.
Importance of Proper Installation
Installing an exhaust hood correctly is vital for several reasons. First, it ensures maximum efficiency in capturing airborne grease, smoke, and odors, which might otherwise circulate back into living spaces. Secondly, improper installation can result in compliance issues with local building codes and regulations, potentially leading to costly fines or the need for rework. Moreover, a poorly installed hood can become a fire hazard if grease accumulates and ignites. Overall, investing time and resources into proper exhaust hood installation can save homeowners money on repairs and replacements in the long run.
Common Types of Exhaust Hoods
There are several types of exhaust hoods available, each designed for specific kitchen layouts and cooking environments. The most common types include:
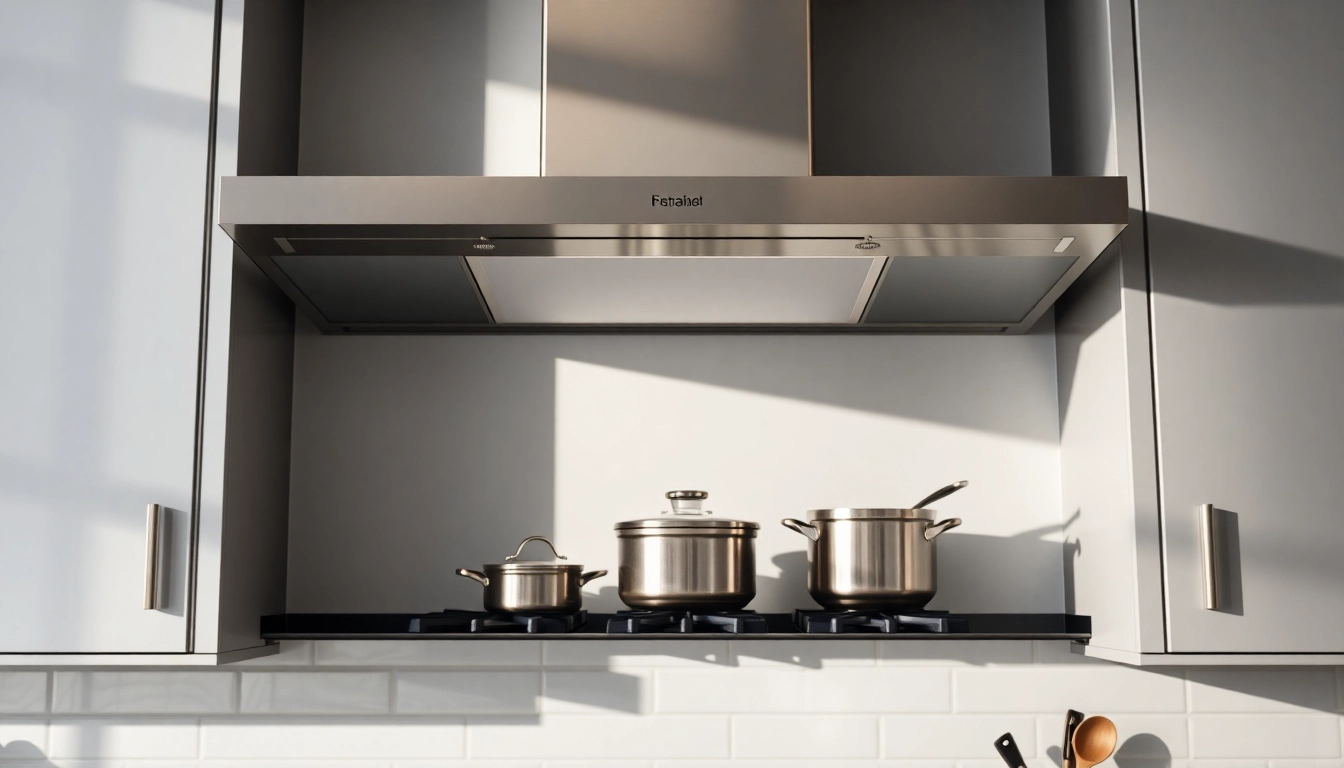
- Wall-Mounted Hoods: Ideal for kitchens where ranges are positioned against a wall, these hoods offer effective ventilation while being aesthetically pleasing.
- Under-Cabinet Hoods: These compact units fit beneath cabinets and are perfect for smaller kitchens, utilizing more vertical space without blocking essential areas.
- Island Hoods: Specifically designed for kitchens with islands, these hoods hang from the ceiling to capture steam and odors that rise from a central cooking area.
- Downdraft Systems: Often integrated into the cooktop, downdraft systems are ideal for modern kitchen designs where a traditional hood would interfere with sight lines.
- Convertible Hoods: These can operate as ducted or ductless systems, offering flexibility depending on the kitchen layout and ventilation requirements.
Planning Your Exhaust Hood Installation
Assessing Your Kitchen Space
The first step in planning for your exhaust hood installation is a thorough assessment of your kitchen space. Take accurate measurements, noting the dimensions of your cooking area, hood height, and ceiling height. Consider the position of windows, doors, and cabinetry, as these can affect airflow and installation options. Proper assessment ensures the selected hood can effectively handle smoke and heat based on the size and configuration of your kitchen. Additionally, addressing local building codes and regulations during this phase can help in preventing future compliance issues.
Choosing the Right Exhaust Hood
Once you have assessed your kitchen space, it’s time to choose an appropriate exhaust hood. Consider factors such as the type of cooking you do, the size of your kitchen, and your aesthetic preferences. It’s crucial to select a hood that provides adequate airflow, typically measured in cubic feet per minute (CFM). For high-heat cooking, look for hoods with higher CFM ratings. Consult manufacturer guidelines to determine the ideal CFM for your specific cooking setup. The material and finish of the hood also play an essential role in durability and ease of cleaning.
Necessary Tools and Materials
Before embarking on your installation journey, ensure you gather the necessary tools and materials. Essential tools might include a drill, screwdriver, level, measuring tape, and duct tape, among others. You will also need the specific materials required for your chosen exhaust hood, such as ductwork, mounting brackets, screws, and possibly an electrical connection kit. Having everything on hand beforehand can streamline the installation process and help avoid delays.
Step-by-Step Guide to Exhaust Hood Installation
Preparing Your Kitchen for Installation
Before installing the exhaust hood, it’s crucial to prepare your kitchen effectively. Start by clearing the area around the stove and removing any items from upper cabinets to create a safe workspace. Next, ensure that the power supply is turned off if electrical work is involved. Mark the installation location for the exhaust hood, using a level to ensure the markings are straight. This preparation phase is essential for ensuring safety during installation and achieving a professional-looking finish.
Mounting the Exhaust Hood Correctly
With your kitchen prepared, you can begin the mounting process. Follow the manufacturer’s instructions carefully, as each hood may have specific mounting requirements. Generally, it’s recommended to mount the hood at a height of 24 to 30 inches above the cooking surface for optimal performance. Use a level to ensure even placement and secure the hood using appropriate screws and brackets. Take your time to ensure the hood is firmly in place and aligns well with any existing cabinetry or wall structure.
Connecting Ductwork and Power
Connecting the ductwork is a critical component of the installation process. Start by determining whether your hood will operate in a ducted or ductless capacity. If ducted, connect the ductwork from the hood to the outside vent, ensuring a secure and airtight fit with duct tape. For ductless setups, replace the ductwork with a charcoal filter as per the manufacturer’s instructions. Once ducting is complete, the final step involves connecting the hood to the power supply. This may require electrical work, so consult a professional if you’re unsure about local codes or safety practices.
Maintenance and Safety Considerations
Regular Cleaning Tips for Your Exhaust Hood
To maintain the effectiveness and longevity of your exhaust hood, regular cleaning is vital. Aim to clean the hood surface and grease filters every month, especially if you cook often. Use a degreaser or a mixture of warm water and soap for the exterior, followed by a rinse with clean water. For the filters, remove and soak them in hot water mixed with a degreaser, then scrub gently with a soft brush before rinsing. Keeping the hood clean not only improves efficiency but also reduces fire hazards associated with grease buildup.
Identifying Signs of Poor Installation
Being able to recognize signs of poor installation can prevent larger issues down the line. Common signs include inadequate airflow, strange noises during operation, and smoke or steam that isn’t adequately vented. Additionally, check for visible gaps around the hood or ductwork, which may indicate improper sealing. If you notice these issues, it may be time to consult a professional for assessment and possible reinstallation. Regular operational checks can ensure your hood remains functional and safe.
Safety Precautions During Installation
Safety should always be a top priority during installation. Always turn off the power supply before beginning any electrical work, and utilize personal protective equipment, such as gloves and safety goggles. Be aware of your surroundings, ensuring no loose items are near your workspace that could pose a safety hazard, and avoid standing on unstable surfaces. If at any point you feel uncertain or overwhelmed, don’t hesitate to call in a professional. A formal installation ensures compliance with safety regulations and reduces misuse risks.
FAQs About Exhaust Hood Installation
How long does it take to install an exhaust hood?
Typically, an exhaust hood installation can take between 2-4 hours, depending on the complexity of your setup.
Do I need a professional for exhaust hood installation?
While DIY is possible, hiring a professional ensures safety, compliance with local codes, and optimal functionality.
What type of exhaust hood is best for home cooking?
A range hood suited to your primary cooking methods—wall-mounted or under-cabinet models—are popular choices for most home kitchens.
Can I install an exhaust hood myself?
Yes, installation is possible for DIY enthusiasts, but knowledge of electrical and ductwork requirements is essential for safe installation.
How often should I clean my exhaust hood?
Exhaust hoods should be cleaned every 1-3 months, depending on usage levels, to maintain efficiency and safety.